RENOVATION GUIDE · BY IVAN BODNAR, HOME RENOVATION SPECIALIST
What happens before the first tile goes down
After around 15 years of residential renovation work, the lesson Ivan comes back to most is a simple one. A good renovation depends on what happens before the final finishes are installed. This guide walks through the four steps that come before tiling and explains why skipping them tends to show up months later.
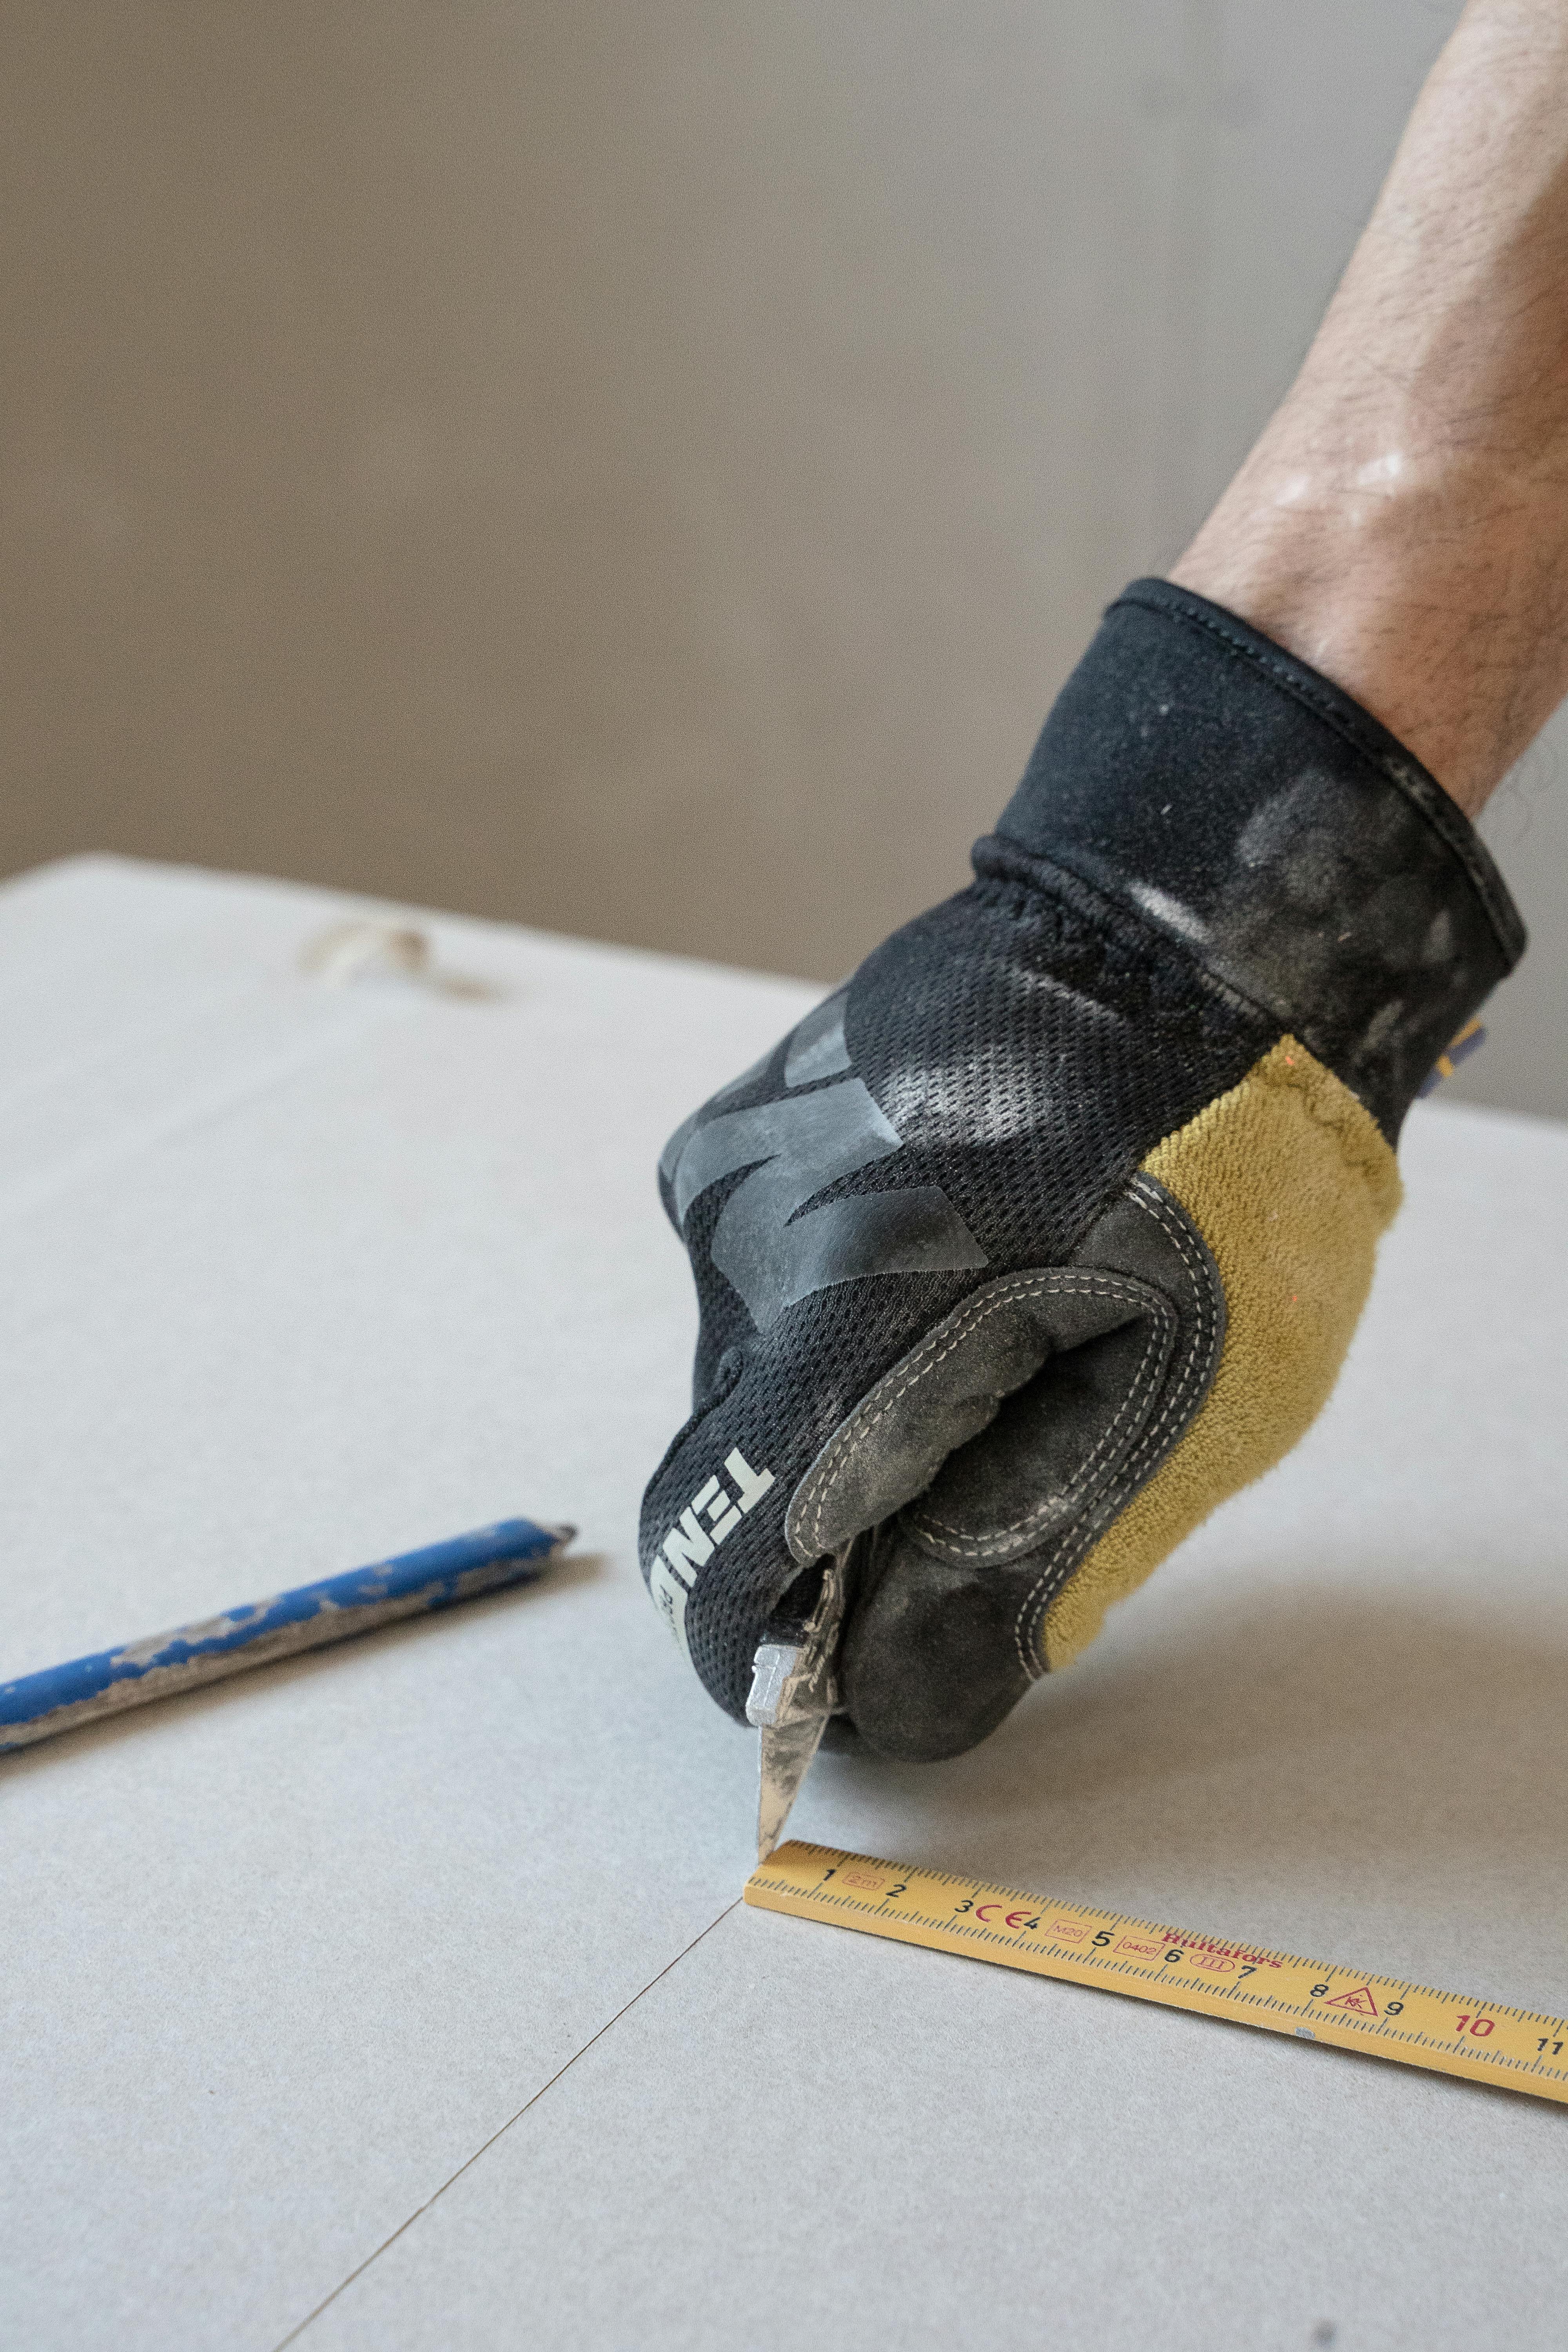
Illustrative photograph
THE LESSON
Tiles only look as good as what's underneath them
Most homeowners judge tiling by what they see on the last day: straight joints, clean grout, neat edges. Those things matter, but they’re the result of decisions made earlier, often before the old surface has even been stripped back.
Ivan learnt the trade working alongside his father, then with tradespeople, renovation teams and as a subcontractor. He went independent partly to take responsibility for more than one part of a project. That includes the unglamorous groundwork that decides whether a new floor or wall stays flat, sound and tidy for years.
FROM IVAN
“A good renovation depends on what happens before the final finishes are installed.”
Read more about surface preparation.
FOUR STEPS BEFORE ANY ADHESIVE
The work you don't see at the end
These are the same checks whether it’s a bathroom, a kitchen splashback or a laundry floor.
01
Look at what's there
Before talking about new tiles, Ivan looks at the room as it is: the existing tiles and grout, any staining or signs of moisture, and how doorways, fixtures and floor heights meet. Photos help, but some things can only be judged in person.
02
Check the surface
Walls and floors are checked for flatness and firmness. A straightedge and level show hollows and humps, and tapping finds loose tiles or render. It’s far better to find old adhesive, flaking paint or a cracked surface now than halfway through the job.
03
Prepare and level
Depending on what the check finds, preparation can mean removing old material, repairing the surface or levelling a floor so tiles sit flat. It’s the least visible part of the job, and often the part that decides how long the finish lasts.
How much preparation is needed depends on the property’s condition and what the assessment finds.
04
Set out the layout
Before any adhesive is mixed, the layout is marked out with reference lines. These show where cuts will fall, how joints line up with doorways, niches and benchtops, and where the level line runs. Thin slivers in a corner or a wandering line along a bath are usually setting-out problems, not tiling problems.
WHY IT SHOWS UP LATER
Skipped steps rarely show on day one
A rushed job can look fine at handover. The problems tend to appear once the room is in daily use, and fixing them usually means lifting finished tiles.
Tiles that sound hollow, crack or lift
This often goes back to a surface that wasn’t sound or properly prepared.
Uneven edges you can feel underfoot
This usually goes back to a floor that wasn’t levelled before tiling.
Narrow cuts and joints that drift off line
This usually goes back to a layout that was never set out.
Cracked grout and stained joints
This can go back to movement in a surface that was only checked by eye.

Illustrative photograph
WHAT DEPENDS ON YOUR PROPERTY
General guidance, then an assessment of your room
This guide describes the usual sequence, but every house is different. The right scope of work, materials and methods depends on the property’s condition and what the assessment finds. Concealed damage behind old tiles, or a change to the agreed scope, may affect the work. If that happens, Ivan will discuss it with you before going further. Read more in concealed damage and changes to scope.
If the renovation involves plumbing or electrical work, it’s done by appropriately licensed tradespeople. See working with licensed tradespeople.
KEEP READING
Related guides and services
How to send photos for a renovation quote
What to photograph so the surface can be judged before a visit.
Planning a bathroom renovation: where to start
The decisions to make before choosing tiles.
Wall and floor tiling · Flooring installation and replacement · Free site inspection and quote
Not sure what’s under your old tiles? Tell Ivan about the room and request a free quote →